Loctite Gel Superglue – Gel glue works best in my opinion because it can account for small gaps between pieces
JB Weld 15-Minute Epoxy – A quick drying epoxy makes several steps a lot more manageable
Hot glue / Hot glue gun – Not 100% needed, but I recommend it for a few steps
Automotive Fill/Sand Primer
Automotive Matte Black Spray Paint
Silver Acrylic Paint
Painting Tips
I strongly advise that if you are painting this model, do so before you fully assemble it
I use automotive grade spray paint/filler primer from AutoZone, it is well worth the huge price difference between it and regular spray paint
If you get a good few layers of filler primer on the model, sanding shouldn’t be necessary, except for possibly the forehead of the faceplate
I start by spray painting all the pieces black, then I coat all pieces with several layers of extremely watered down gray acrylic paint, patting dry in between layers, to give it that dirty weathered look. Then I come back with a small detail brush and paint all the silver bits
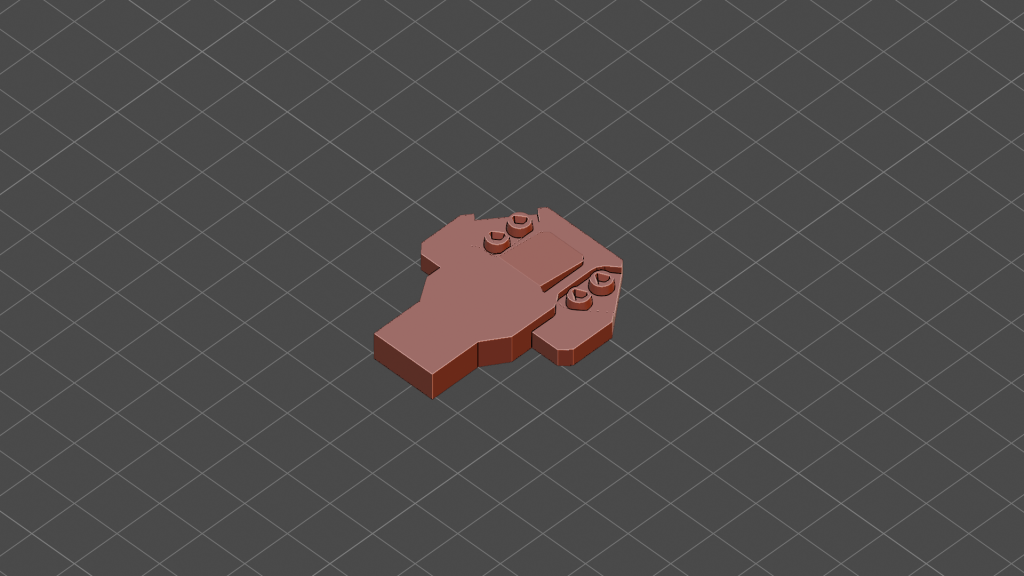
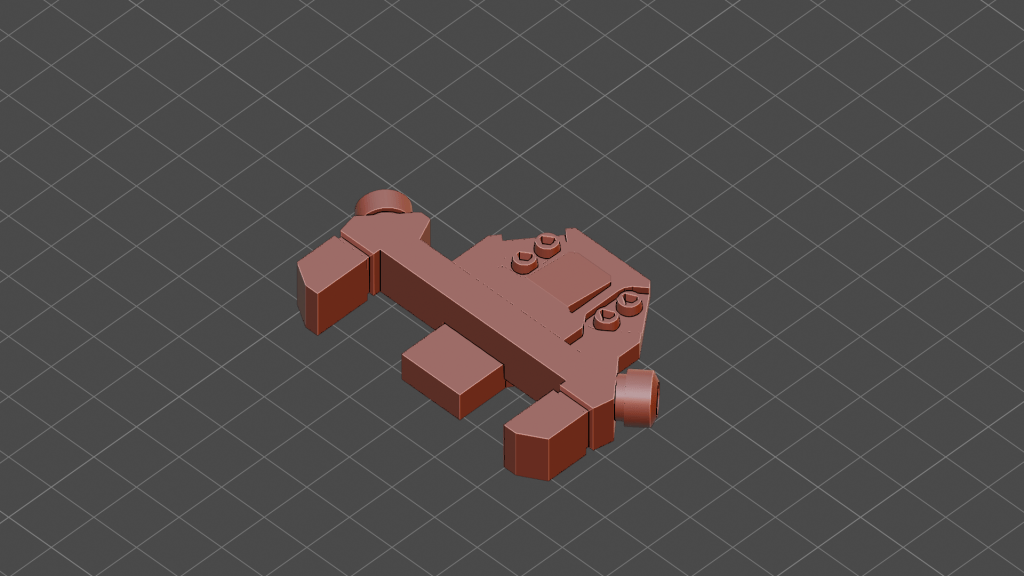
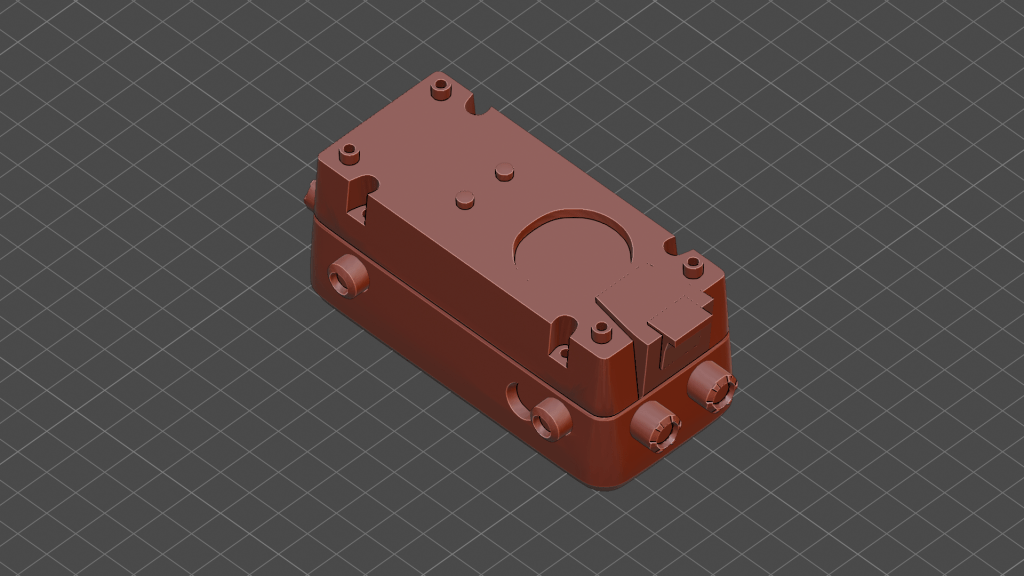
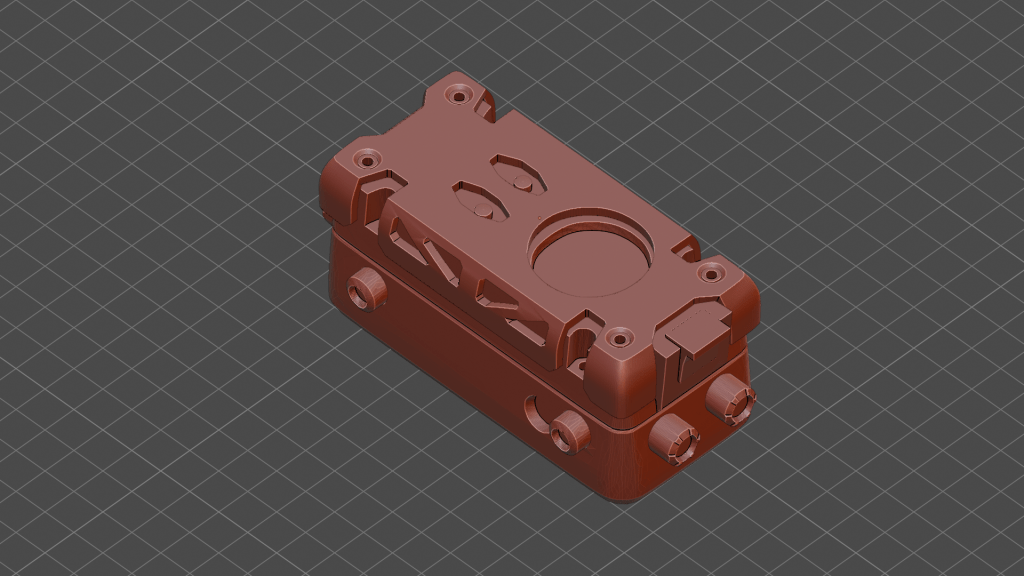
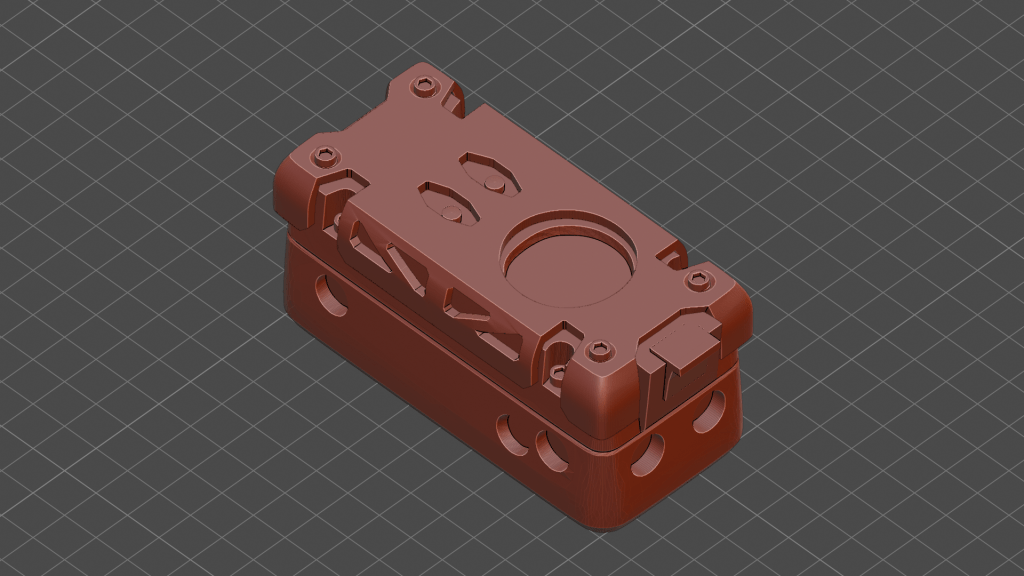
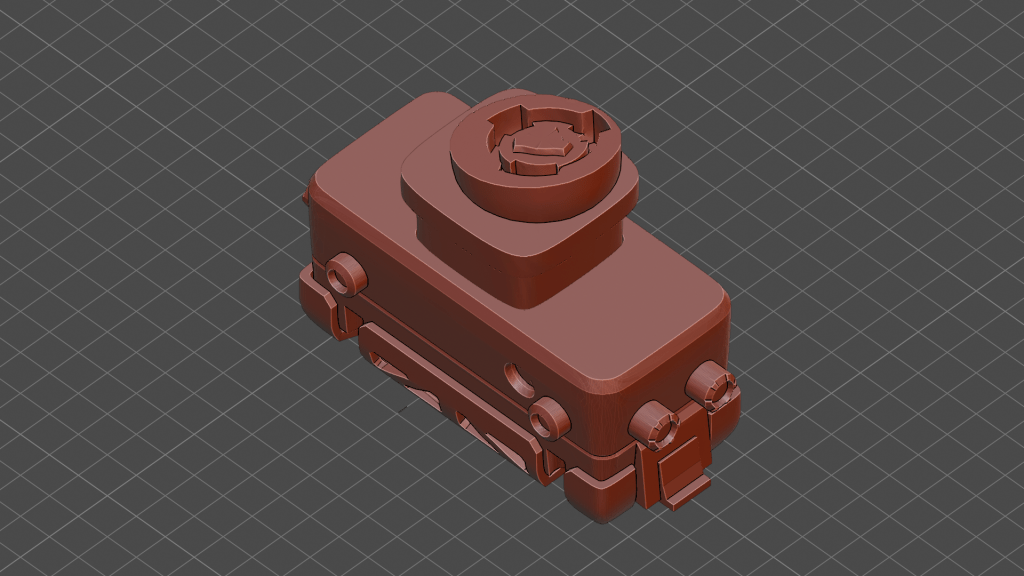
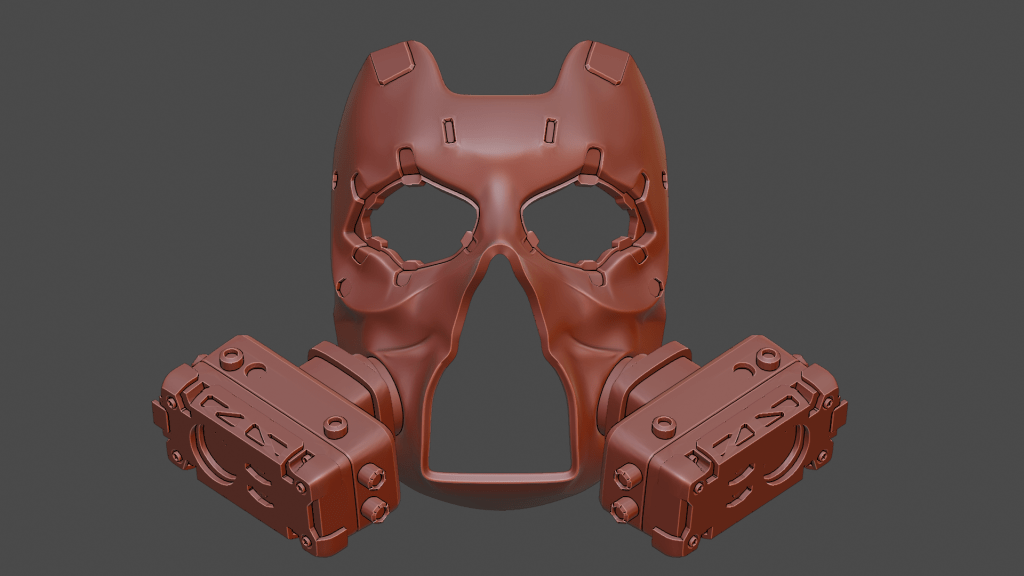
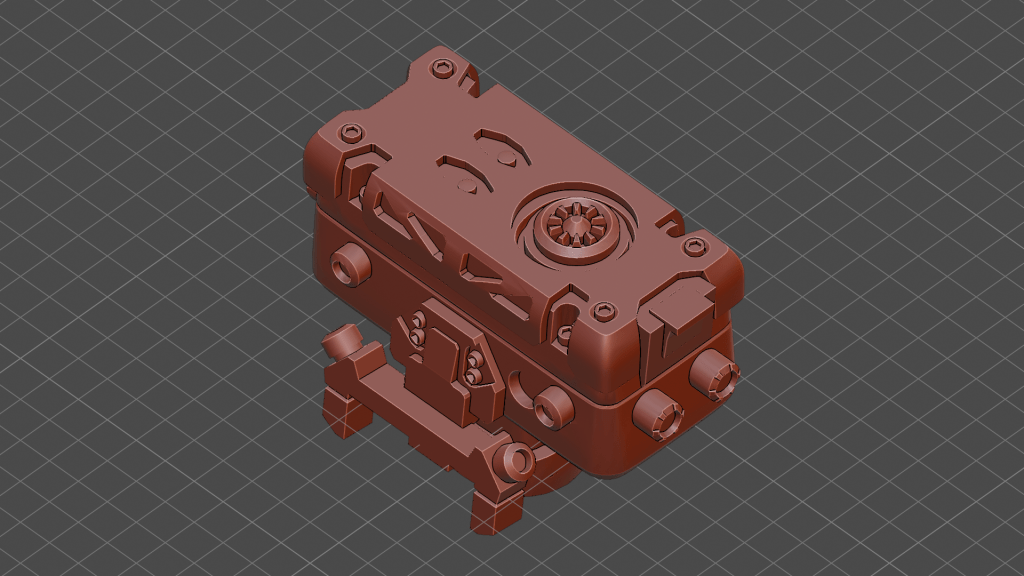
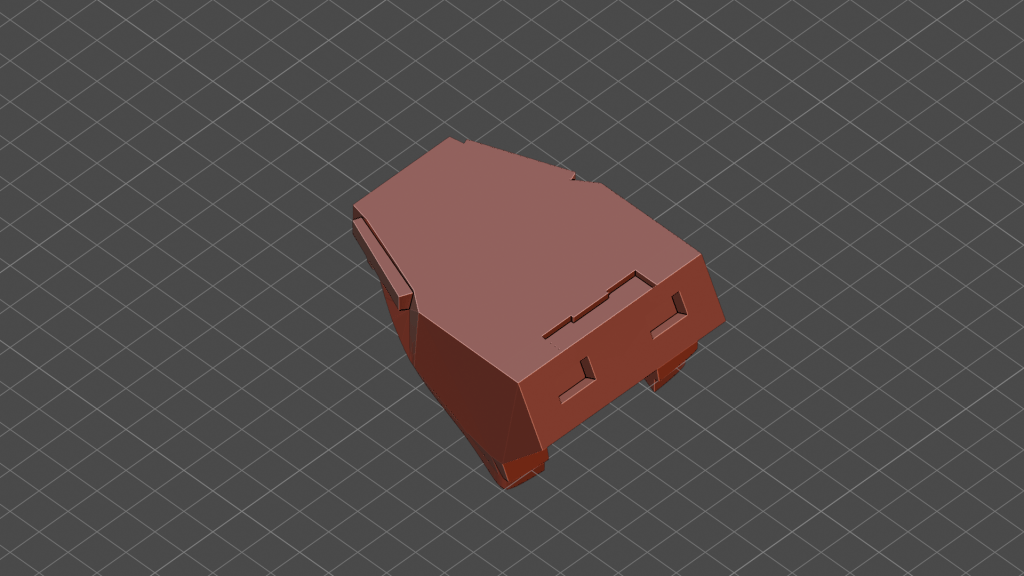
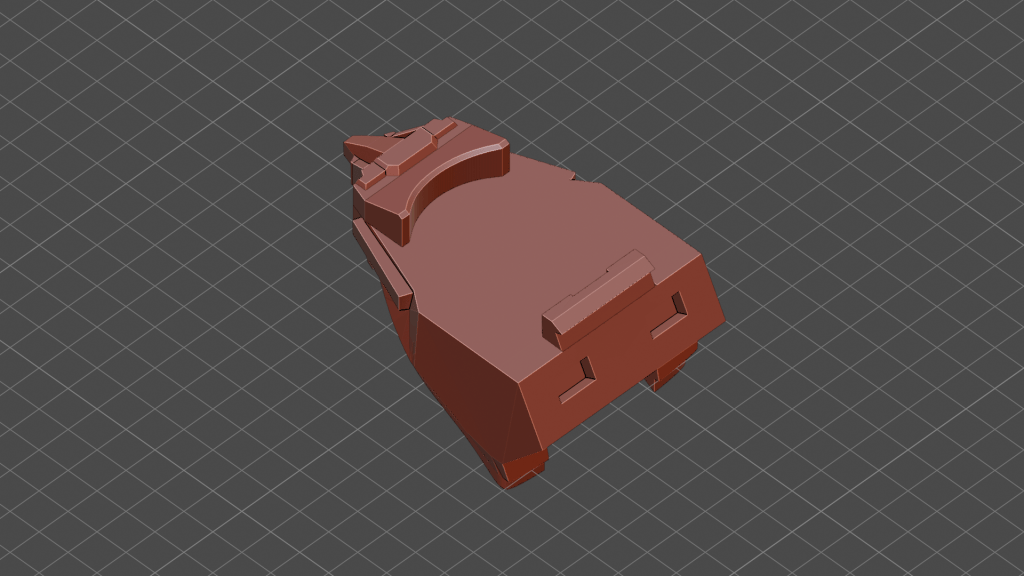
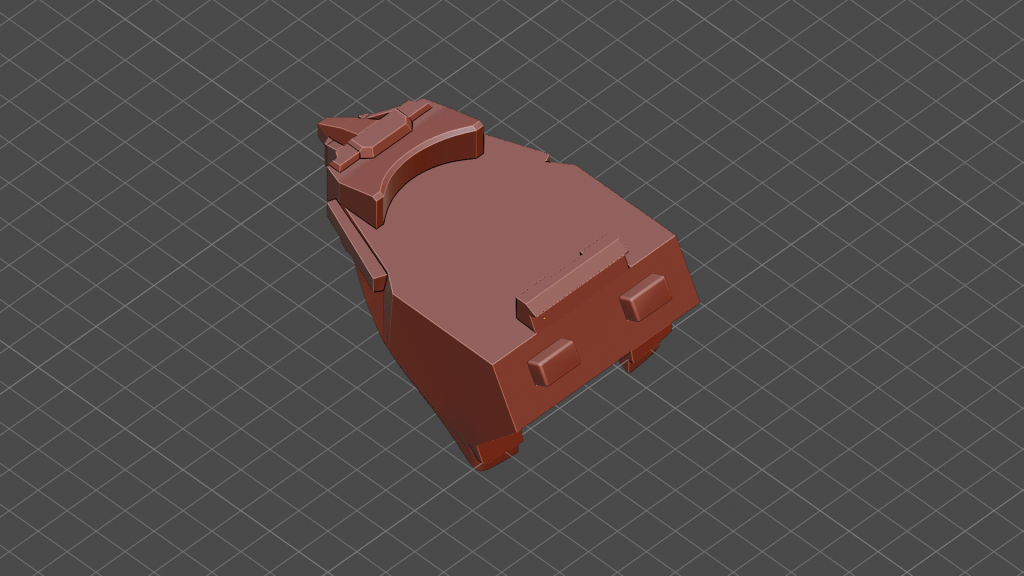
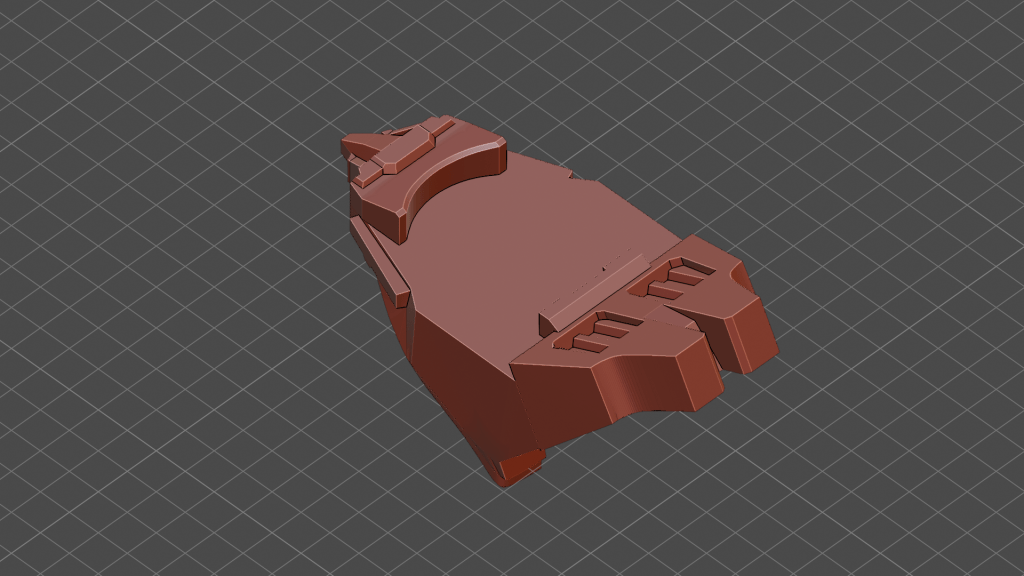
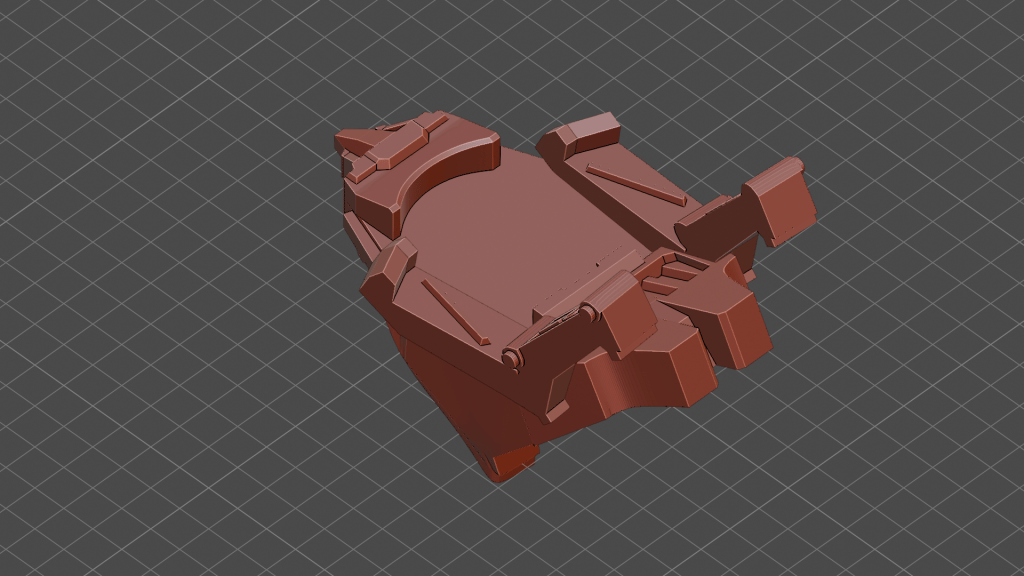
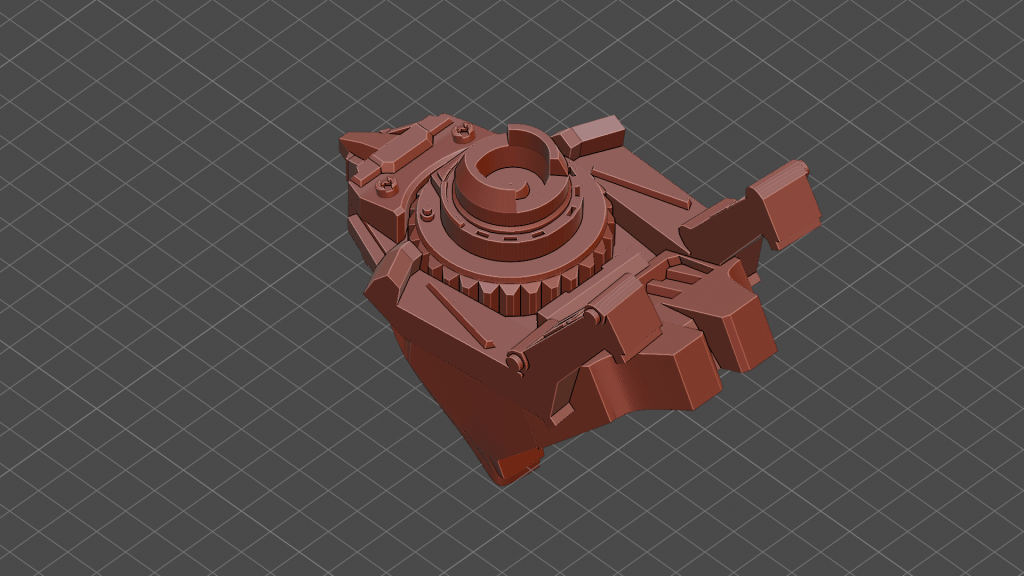
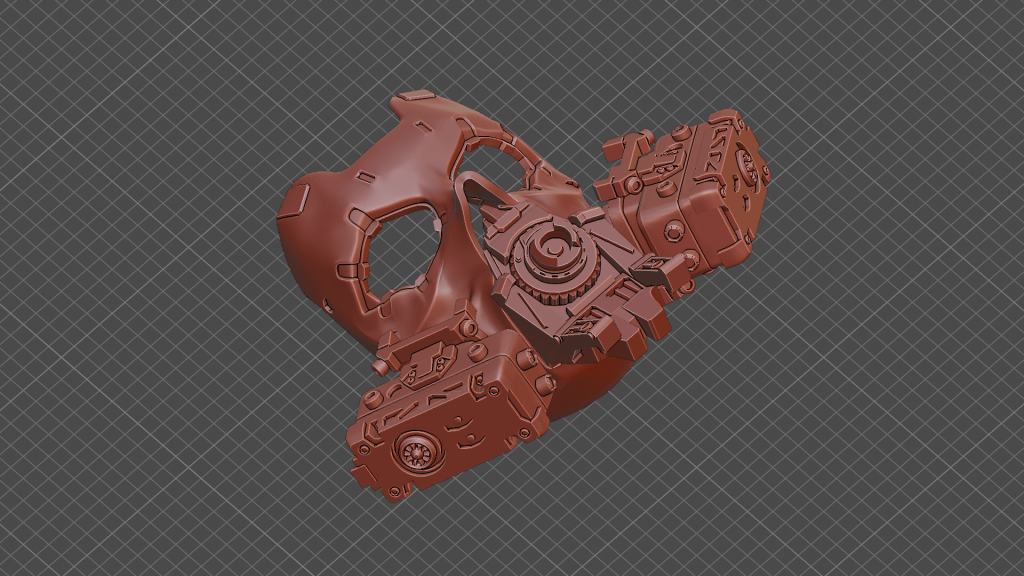
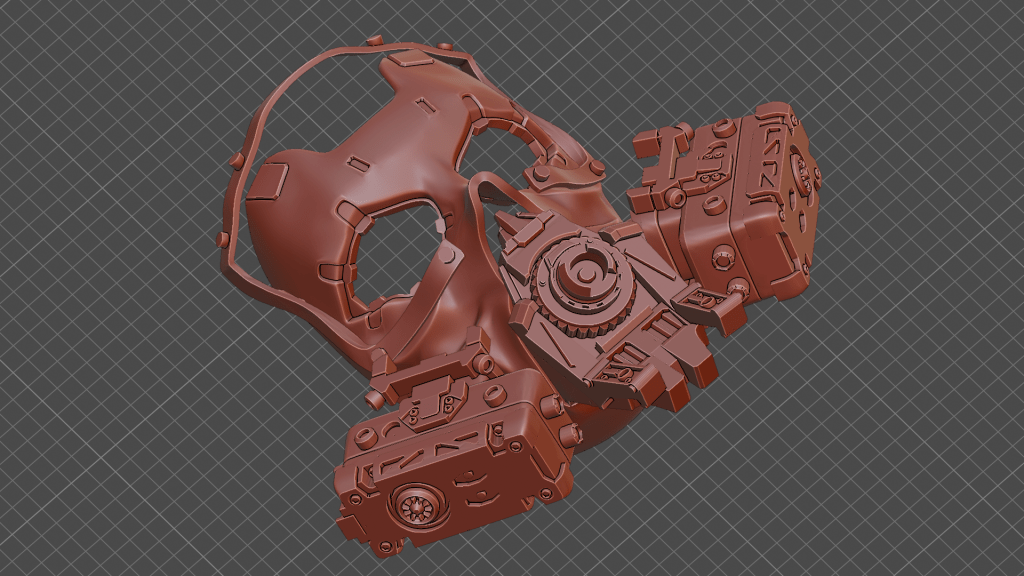
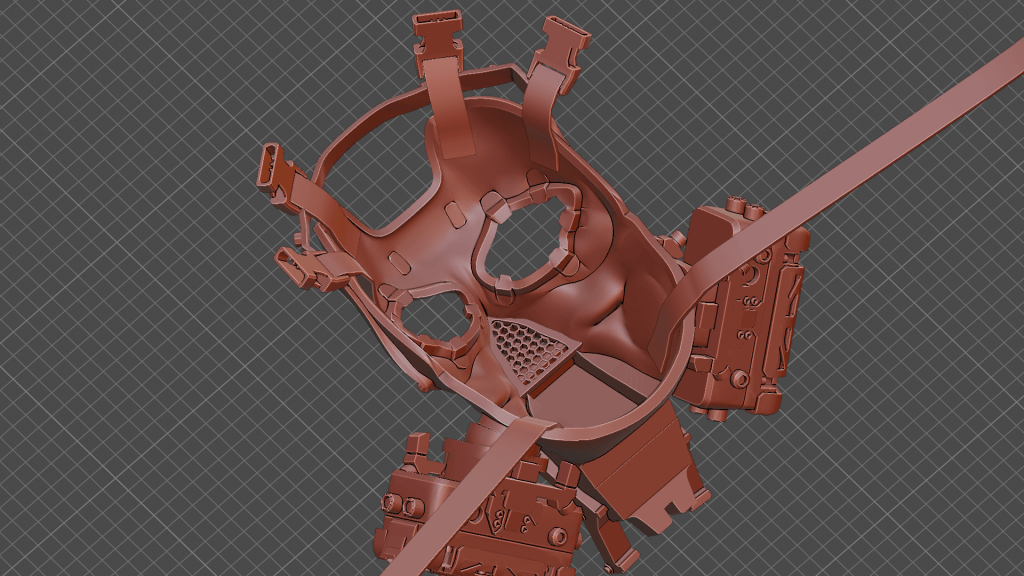
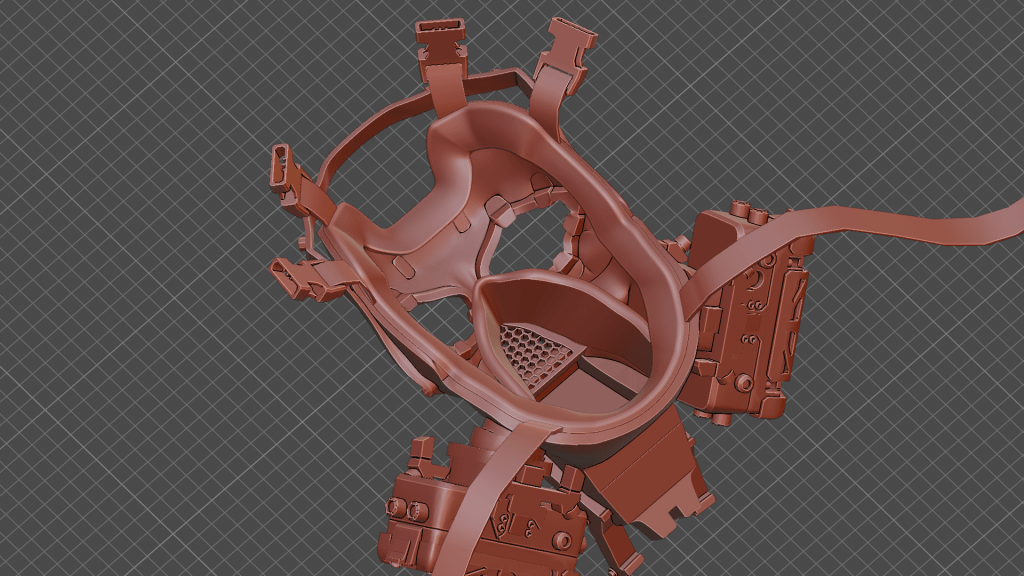
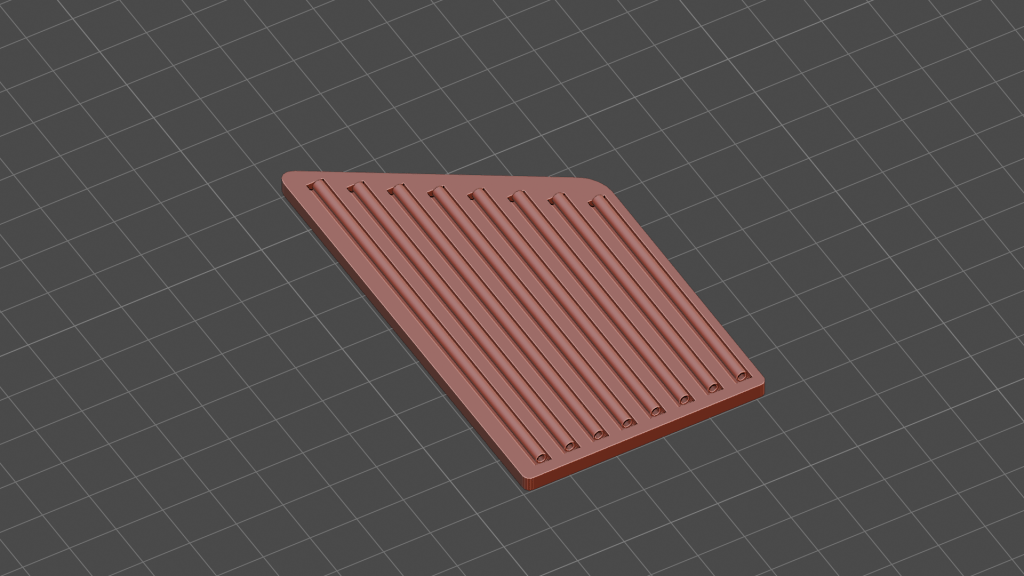
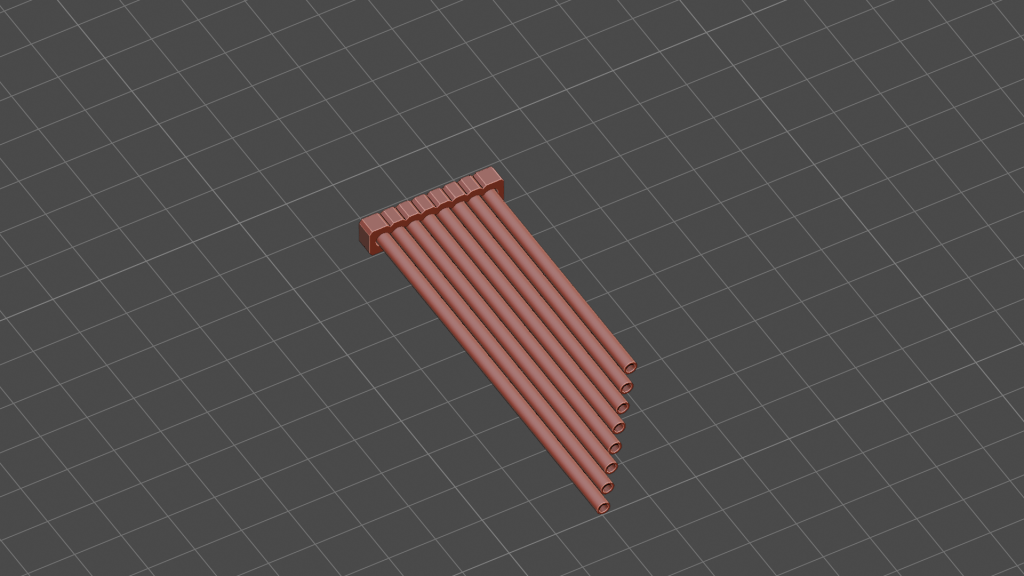
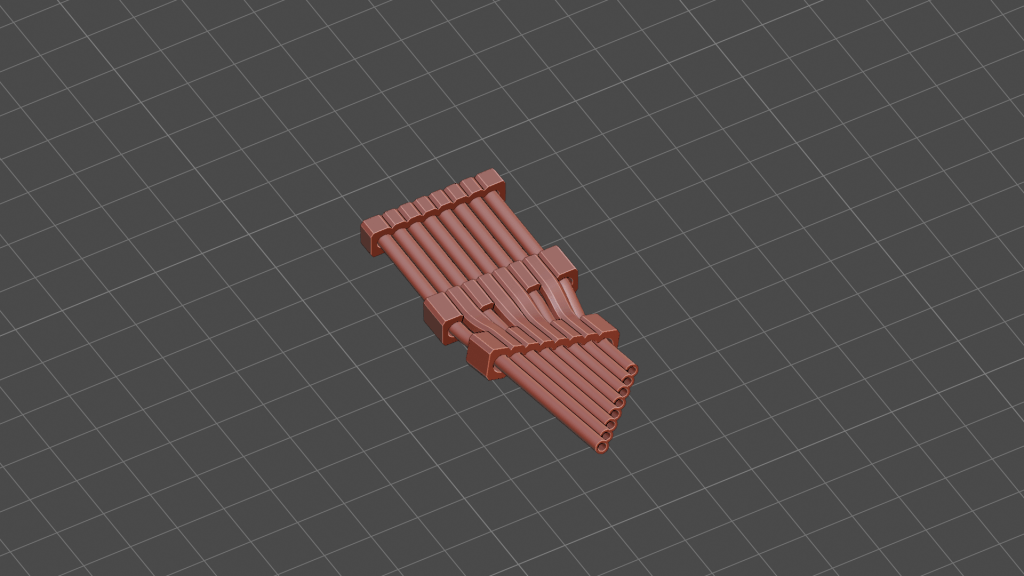
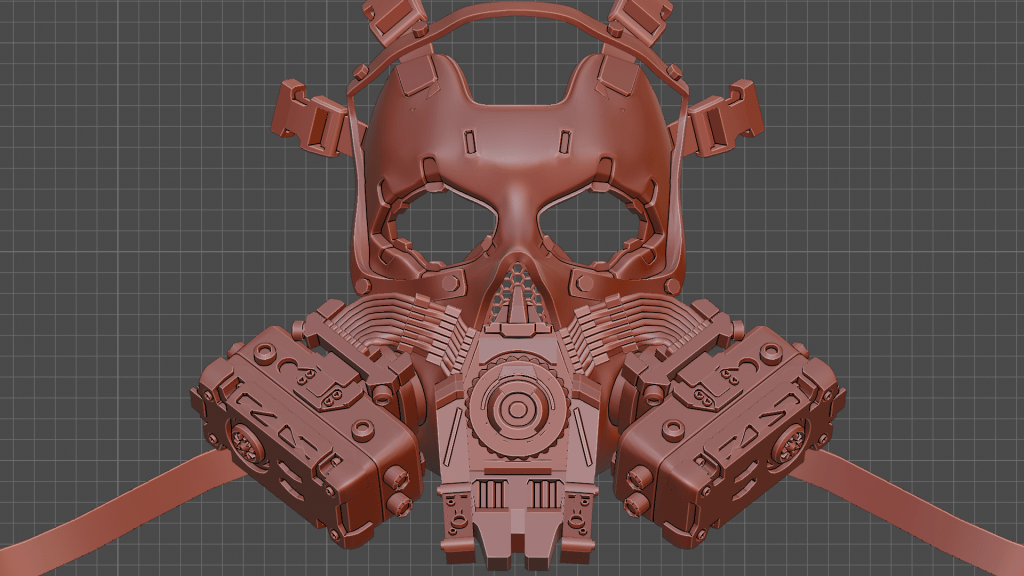
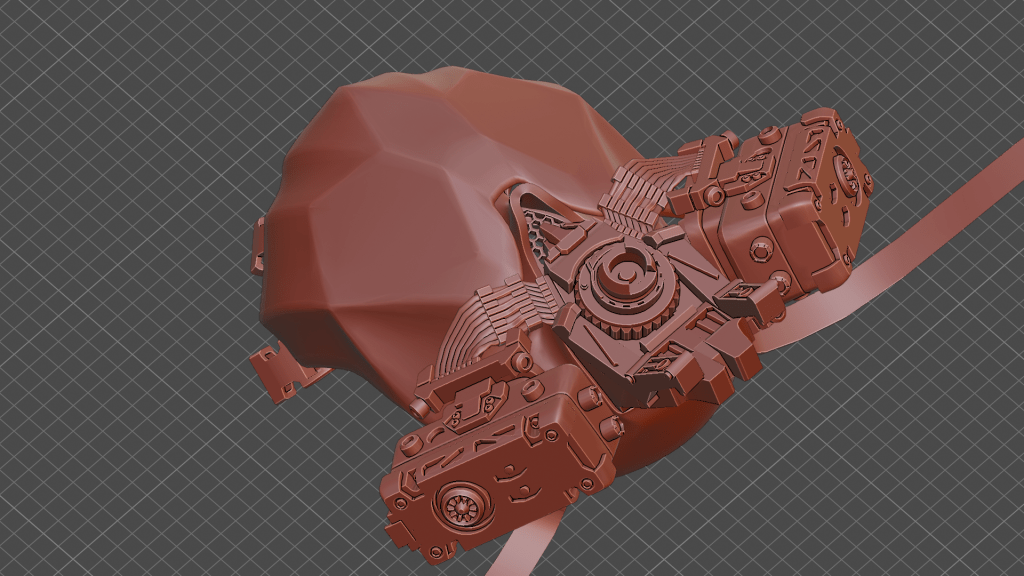
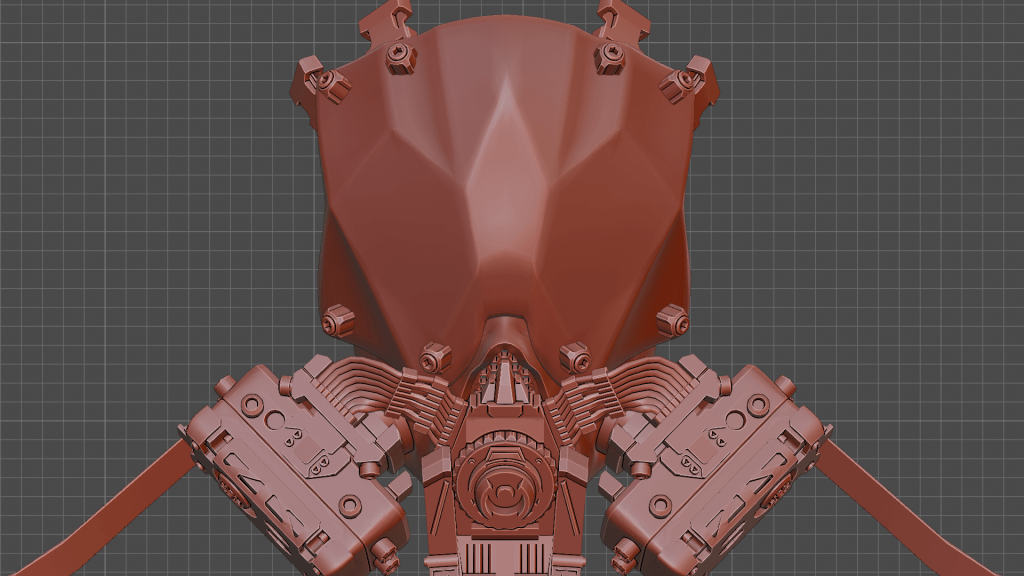
We’re starting with the filter brackets, use super glue to attach four screw heads to a bracket base, repeat this for each bracket for a total of fourUse super glue to attach the bracket clip to the base, then glue both cylindrical pieces to inside the alignment holes on each side of the piece (the correct cylinder pieces here are the only one’s that fit, there are four different types in the bag). Again, repeat this for all four brackets.Next we’re working on the filters. Take the main filter body piece and glue the eight remaining cylinder pieces inside the alignment holes on all four sides of the filter. Make sure the cylinders with ridges go on the shorter sides of the filter, just like in the picture above. Repeat this for both filters.Place the filter cage on the top of each filter body, make sure the holes on the top align with the elements on the body. You do not have to glue this on since we will be placing screws in the next step, but it can be glued in place if desired. Repeat this for both filters.Screw all eight of the provided M3 screws into the holes shown above. Repeat this for both filters.DO NOT GLUE BEFORE COMPLETING THE NEXT STEP Flip the filter over and place the stand piece in the hole on the bottom. Repeat this for both filters. DO NOT GLUE THIS IN PLACE YET Hold both filters on the faceplate and check that they match the image above, notice that the large hole in the cage is facing away from the mouth area and that they are both angled down. You can now glue the stand piece in place now that it is positioned correctly. Use super glue to fix the brackets in place on either side of the filter. If you have already painted the model, I strongly recommend scratching the paint underneath where the glue will be, so it attaches to the plastic itself, not the paint. Repeat this for both filtersUse super glue to attach the circular vent piece in the large hole in the cage. Repeat this for both filtersWith the filters complete, we can now start on the mouth piece. Take the main body piece and position it as shown aboveSuper glue both pieces in place as shown aboveSuper glue the nose piece in place as shown abovePlace both alignment pins inside the holes on the bottom of the body, these do not have to be glued, they are just to hold the next piece in place.Align the bottom mouth piece with the alignment pins from the last step, super glue this in place.This step can be tricky. Making sure they are symmetrical and aligned correctly, super glue the side arm pieces in place. They are meant to be slightly leaning out away from the center.Super glue the respirator piece in place as show above. If you have already painted the model, I strongly recommend scratching the paint underneath where the glue will be, so it attaches to the plastic itself, not the paint.Super glue the two screw head pieces in place as shown above.Epoxy both filters and the mouth piece to the faceplate. I strongly recommend using epoxy for this, since the connection has to be strong. KEEP CLOSE WATCH WHILE THE EPOXY DRIES TO MAKE SURE THE FILTERS DO NOT DROOP WAIT FOR EPOXY TO COMPLETELY DRY BEFORE MOVING ONSuper glue the visor bracket in place, use the alignment pins to get it in position with the corresponding holes in the faceplateFlip the mask over and super glue the nose mesh in placeThis is easily the most tedious step. Epoxy all six of the straps in the positions shown above. You have to do each one of these individually; again, making sure they do not droop as the epoxy dries. Clamps are extremely helpful, though I personally just prop the mask up in a way so that gravity holds the strap in place as it dries. I intentionally cut the straps extra long, so you may want to see how it fits to your head and cut the excess length off.Hot glue or super glue the soft mouth and nose gasket in place. I recommend hot gluing because the gap between the two pieces can be wider in some places than others.Hot glue or super glue the soft face gasket in place. Again, I recommend hot gluing.Of course the hardest step has to be last, we’re now working on the tubes that go from the nose to the filters. Measure out and cut 8 sections of the rubber tubing with the included measuring tool. I’ve included a lot of extra tubing in case you mess up! (I recommend cutting them a little longer than needed in case you need to make any adjustments). Repeat this for both sidesSuper glue the 8 sections to a tubing base piece from largest to smallest (at this point it is symmetrical so don’t worry about getting it flipped wrong) Thread the tubes through the bracket as shown above, be careful to align it like the picture, the piece is not symmetrical. Repeat this for the other side, mirroring the placement.Super glue the other end of the tubes to the other tubing base piece and then glue to to the mask as shown above.Being very, very careful to not crack the visor, hot glue it to the visor bracket by placing beads of glue on each of the 8 pins.Finally, super glue the 8 visor screws to the visor, placed on top of the 8 pins.
Congratulations! Your mask is now complete. If you had any trouble, please feel free to contact me!
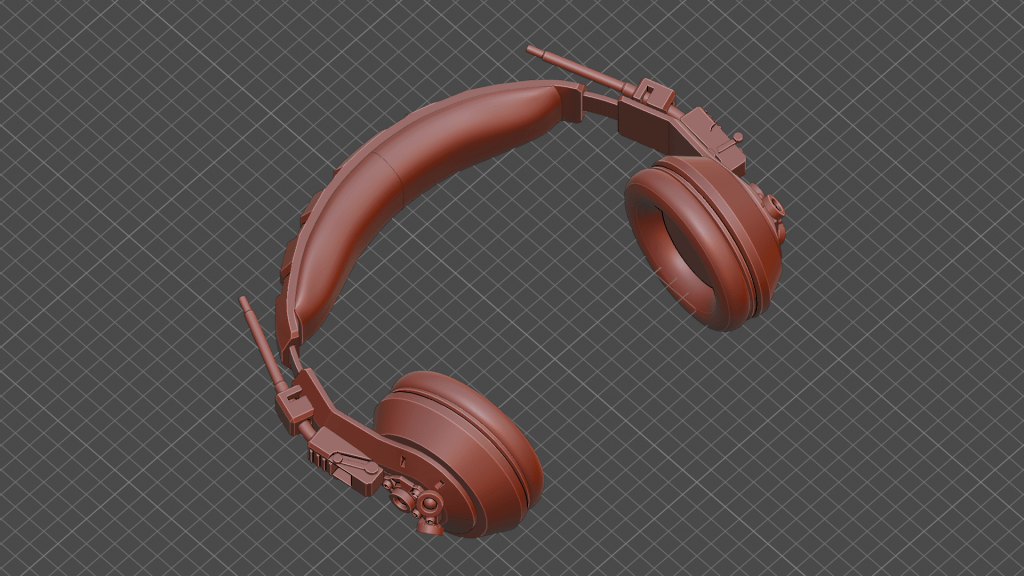
Headset Assembly Instructions
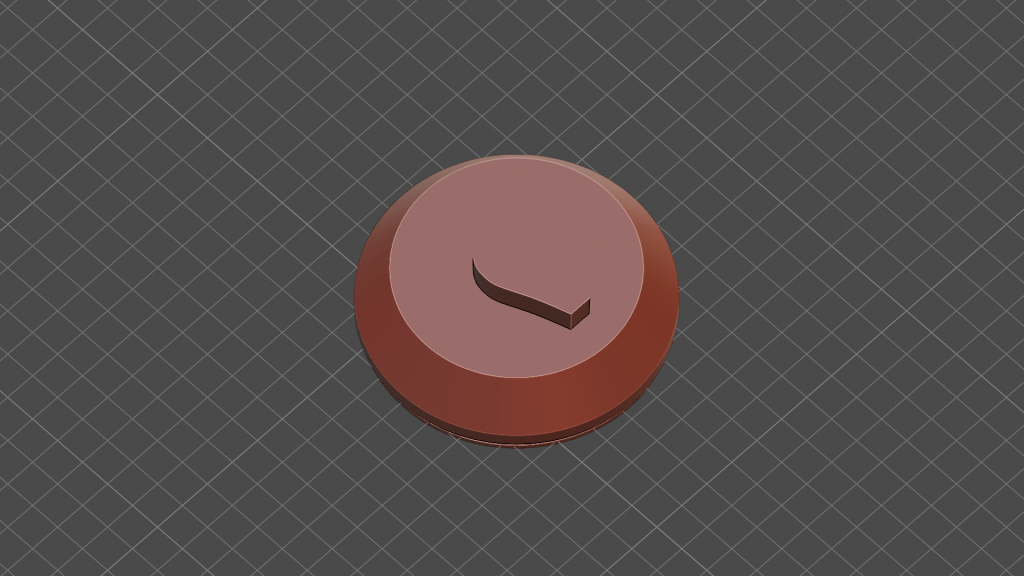
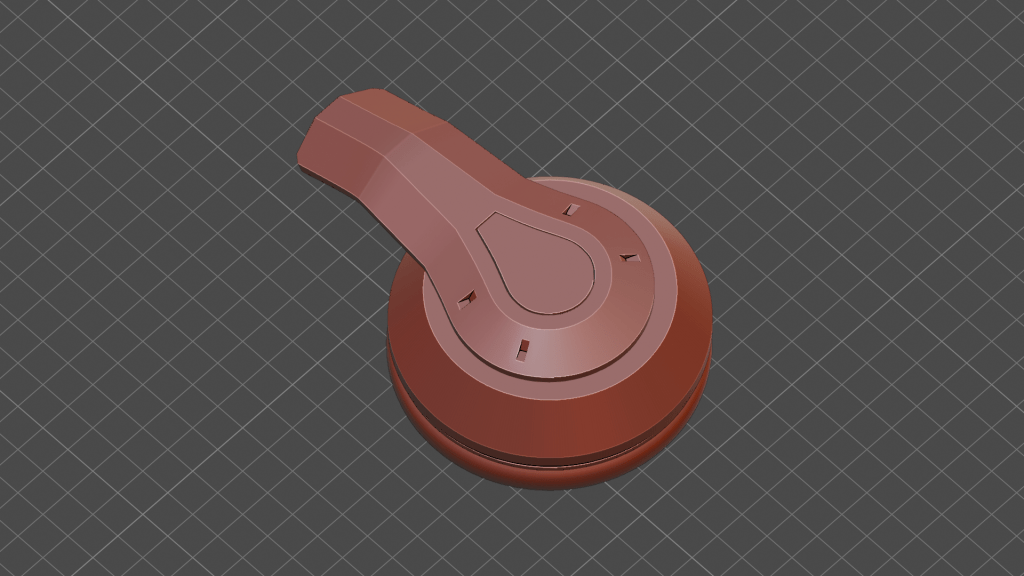
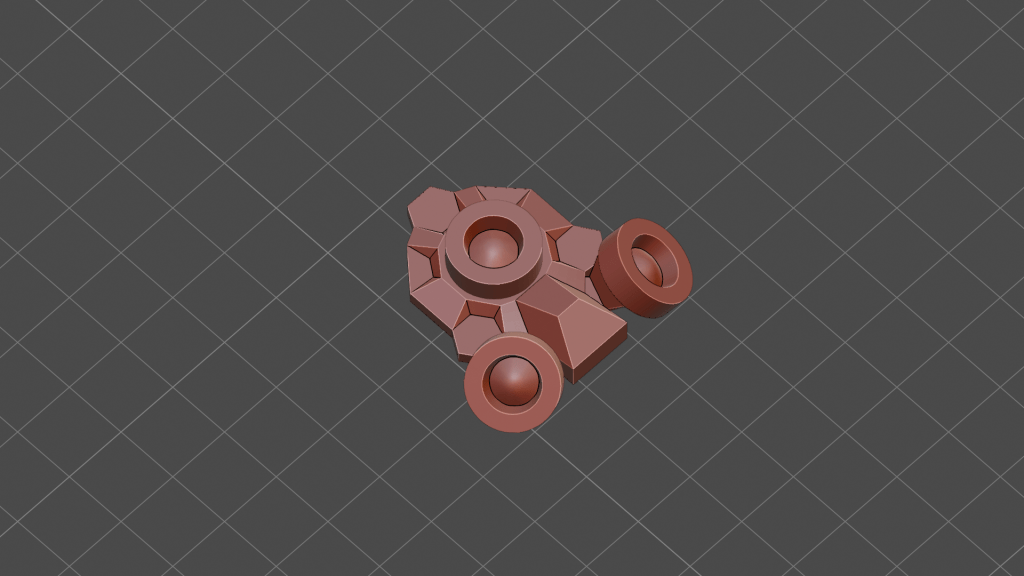
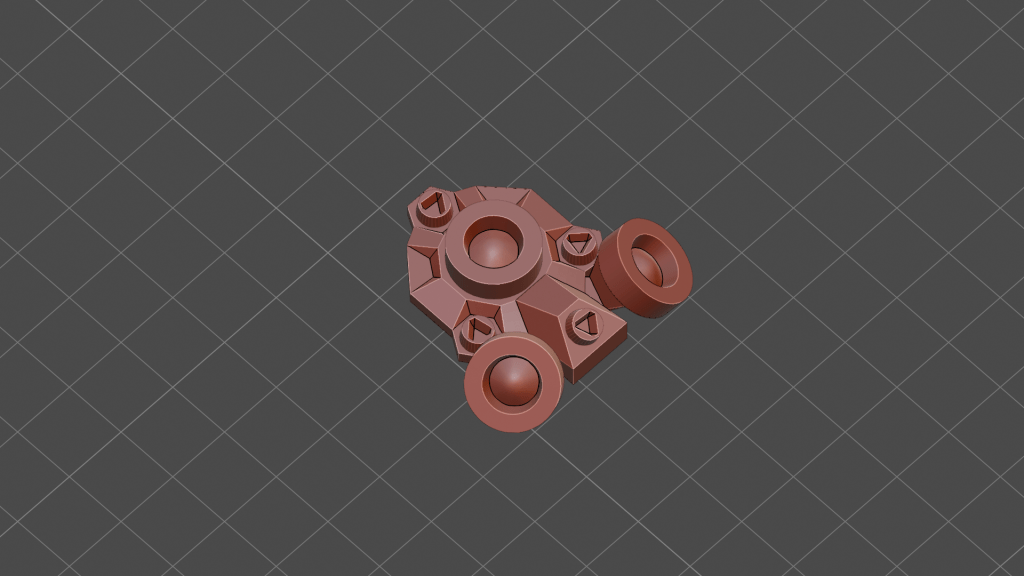
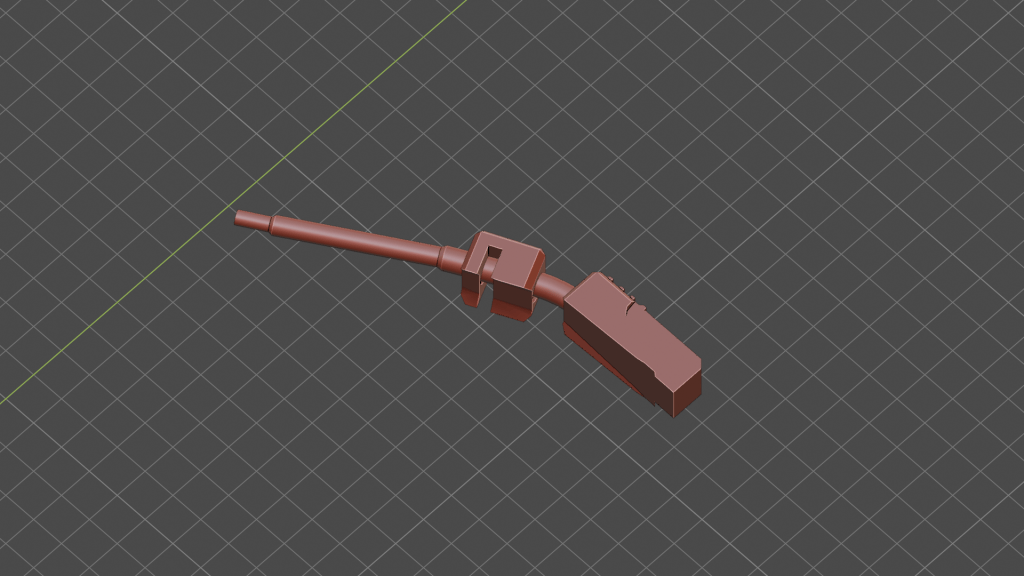
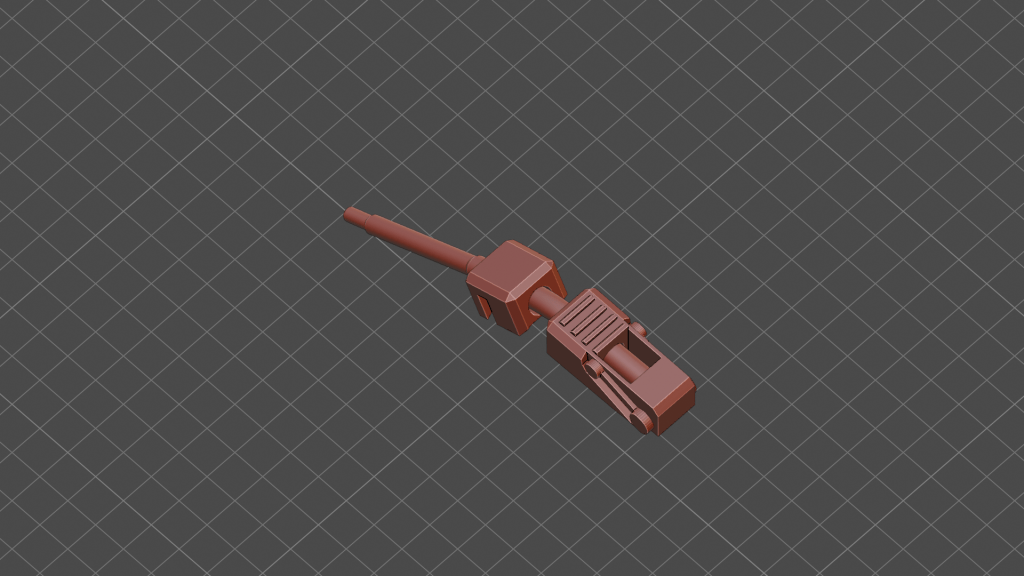
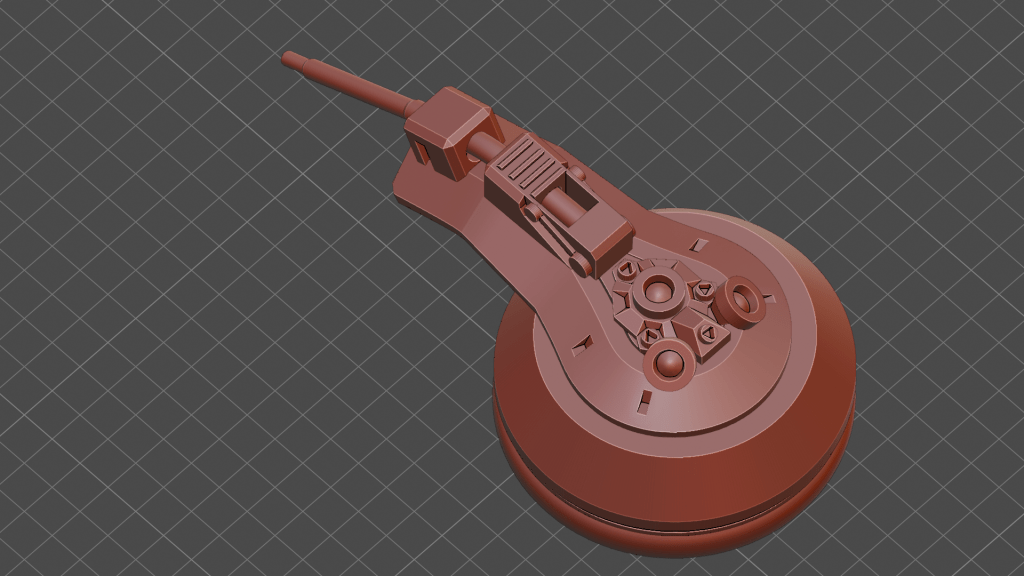
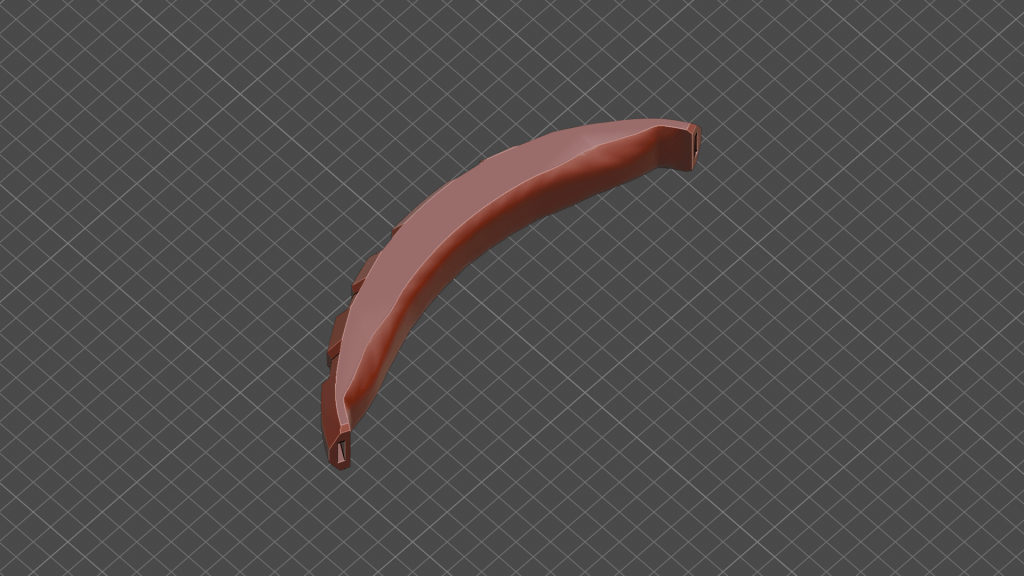
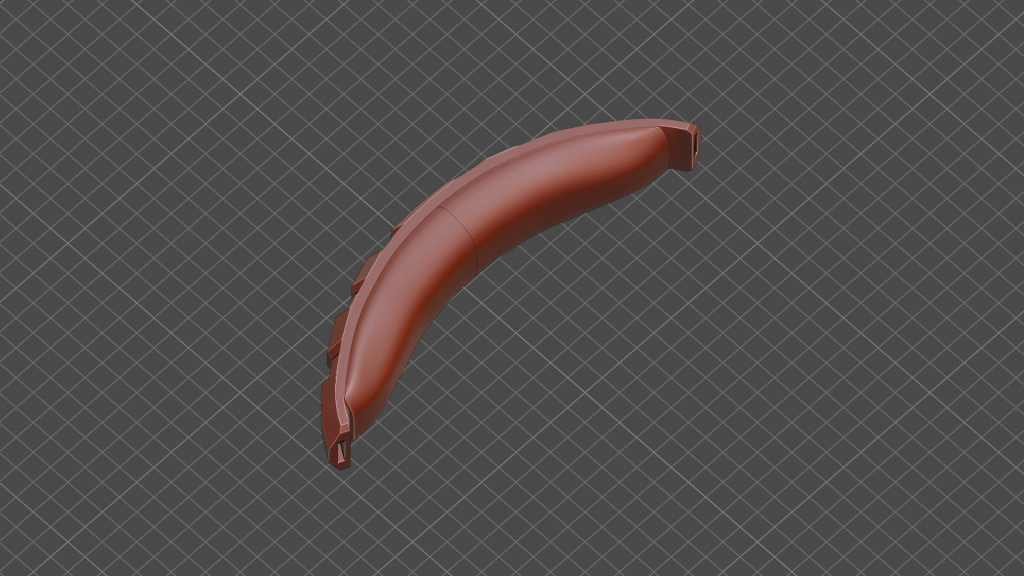
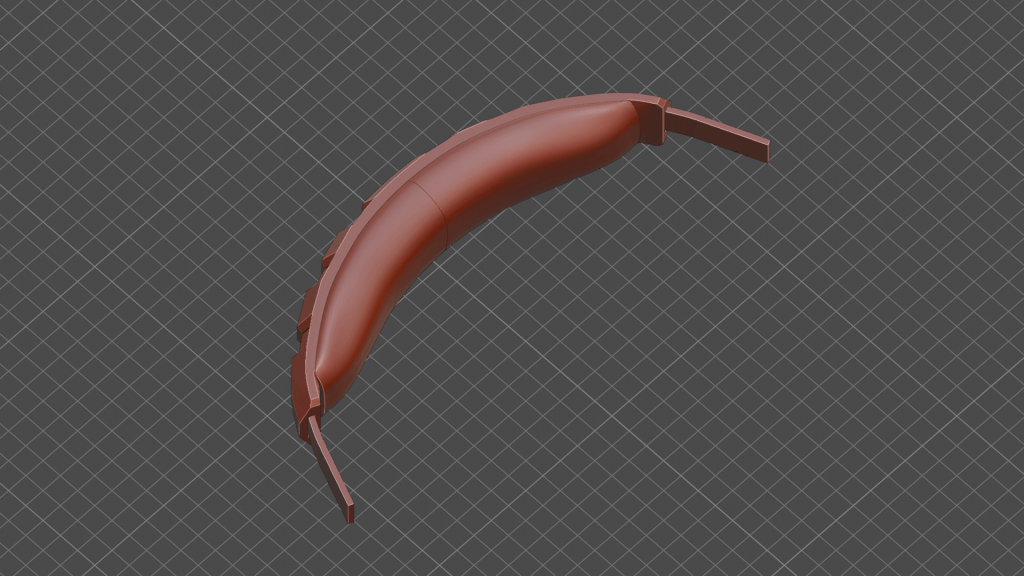
First we’re working on the ear cups, grab the main body piece and position it as shown above. Repeat this for both cups.Flip the cup upside down and super glue the soft ear cup piece in place. Repeat this for both cups.Flip the cup right side up and epoxy the cup bracket in place as shown above. Repeat this for both cups.Set both cups aside for now, we’ll get back to them in a minute. Grab the microphone base piece and super glue the three circle pieces in place. Repeat this for both cups.Super glue the four screw head pieces in place in the positions shown above. Repeat this for both cups.Set the microphone pieces aside for now. Grab the antenna piece and slide it through both the small and large antenna holders. No need to glue this yet, the antenna just has to be in position before gluing the holders to the headphone cups. Repeat this for both antennas.Super glue both decorative accent pieces to either side of the large antenna holder as shown above. Repeat for both antennas.Now bring the cup back in. Super glue the microphone and antenna holders in place as shown above. Repeat for both cups.Set the cups aside for now and grab the main headphone body piece. Position it as shown above.Super glue both the left and right soft cushion pieces the the main body.Super glue both cup brackets in place as shown above. The end that is more curved goes into the body piece.Finally, hot glue both ear cups to the brackets. I strongly recommend hot glue here, so they can be later adjusted in length if needed. Before you glue, try them on and find your preferred length.
Congratulations! Your headset is now complete. If you had any trouble, feel free to contact me!